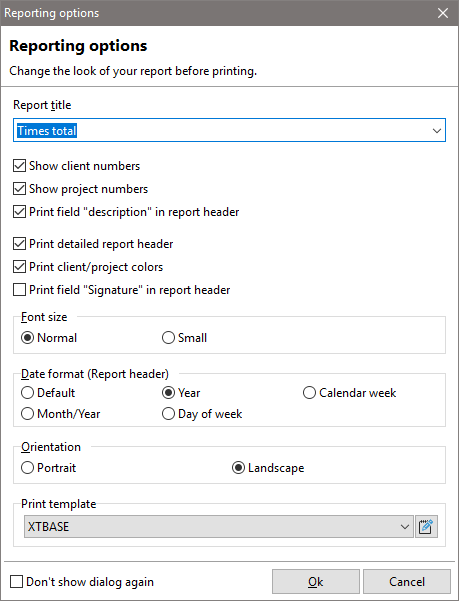
When printing your project reports, you have the option of customizing the report title and selecting the print template. You can also make adjustments to the report via the xperttimer.ini file.
The "Extended report header" option includes the customer name, project name, date range, and possibly the employee, depending on the report you are running. In this dialog
box, you can also choose whether you want the customer, project, and/or task numbers to be displayed in your report.
To have your customer sign directly on the report, use the "Print signature field in report header" option. This option appears when you click the "Print extended report header" checkbox.
Sometimes it is also advisable to change the orientation of the printout. For example, if you are printing a time stamp list without comments, it is better to choose portrait format.
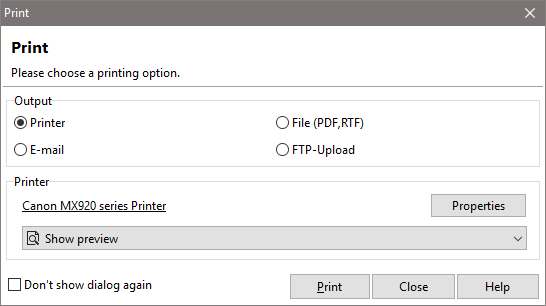
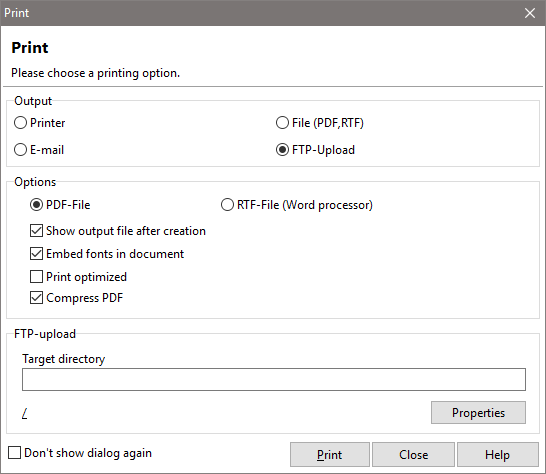
You then have the following convenient options for printing your project reports:
1.Normal print output to a local printer
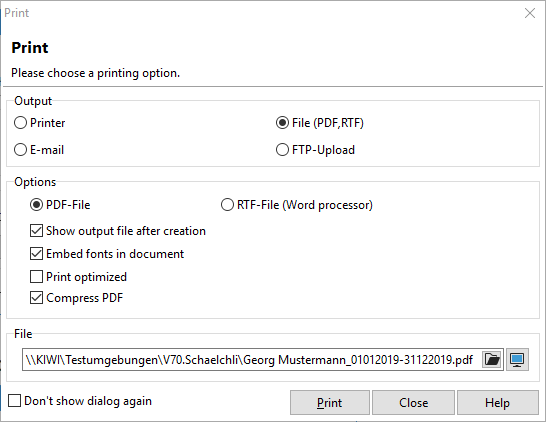
2.Create a PDF document
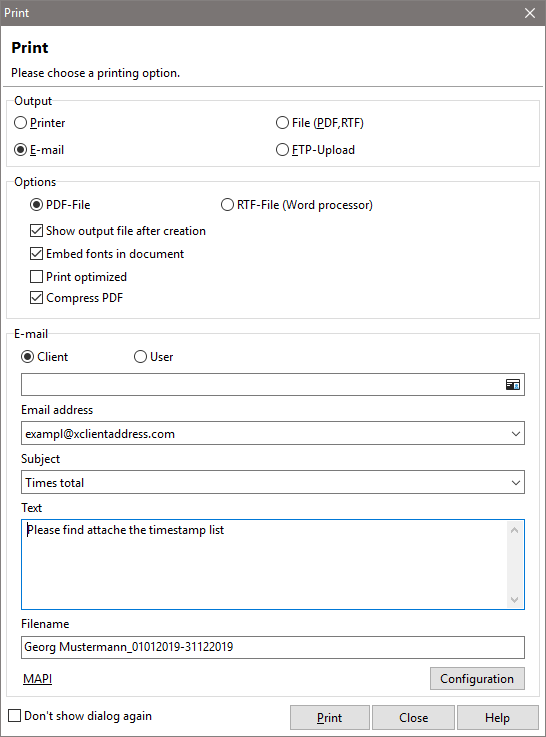
3.Sending by email to people who may not have access to Xpert-Timer. Please note that the email is sent immediately after clicking on "Output." No further email dialog appears. You must therefore insert your email signature here as a text module.
4.Sending reports to an FTP server on the Internet to gain worldwide access to reports and project lists.
Customize the report header using the xpertimer.ini file
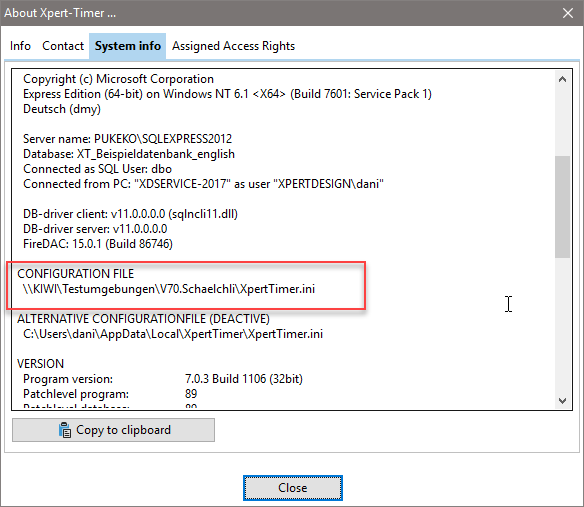
To customize the reports generated by the Xpert-Timer system, you can customize the XpertTimer.ini file accordingly. You can find the path to your xperttimer.ini file in the Project Manager under the menu item "Help" -> About Xpert-Timer -> System Info.
If you would like to make a change to the report, write the desired designation after "Istgleich" (equals).
For example:
[ReportOptions]
ReportHeader_User=Name
ReportHeader_Client=
ReportHeader_Project=
ReportHeader_DateRange=
ReportHeader_Filter=
The default
For users, the report shows: Employees. However, in the example above, the Xpert-Timer user wants to display "Name" instead of "Employees" in their printout.
For clients, the report shows: Customers
. For projects, the report shows: Projects
. For date ranges, the report shows: Time period
. For filters, the report shows: Selection.
If you want to customize the titles of the reports, you can also manage this centrally in the .ini file. These are the titles of the following lists:
- Working hours
- Task
list - Employee list
- Project list
- Customer list
- History entries
For example:
[ReportOptions]
ReportTitle_Times=Overview of times
ReportTitle_Todo=List of tasks
ReportTitle_Users=
ReportTitle_Projects=
ReportTitle_Clients=
ReportTitle_History=